Free deck template
Download a FREE 40-slide template inspired by research on over 100 successful startup decks!

The way you are able to move your Figma design into Replit and be successful - cleanly, efficiently and without losing your creative juice - must be thought about.
Making use of tools like Replit, you are able to now make an interactive prototype from a static mockup in a split second out of your browser.
Need assistance transforming your design into a functional prototype? Pixeldarts brings together design & development - create your Figma idea in Replit.
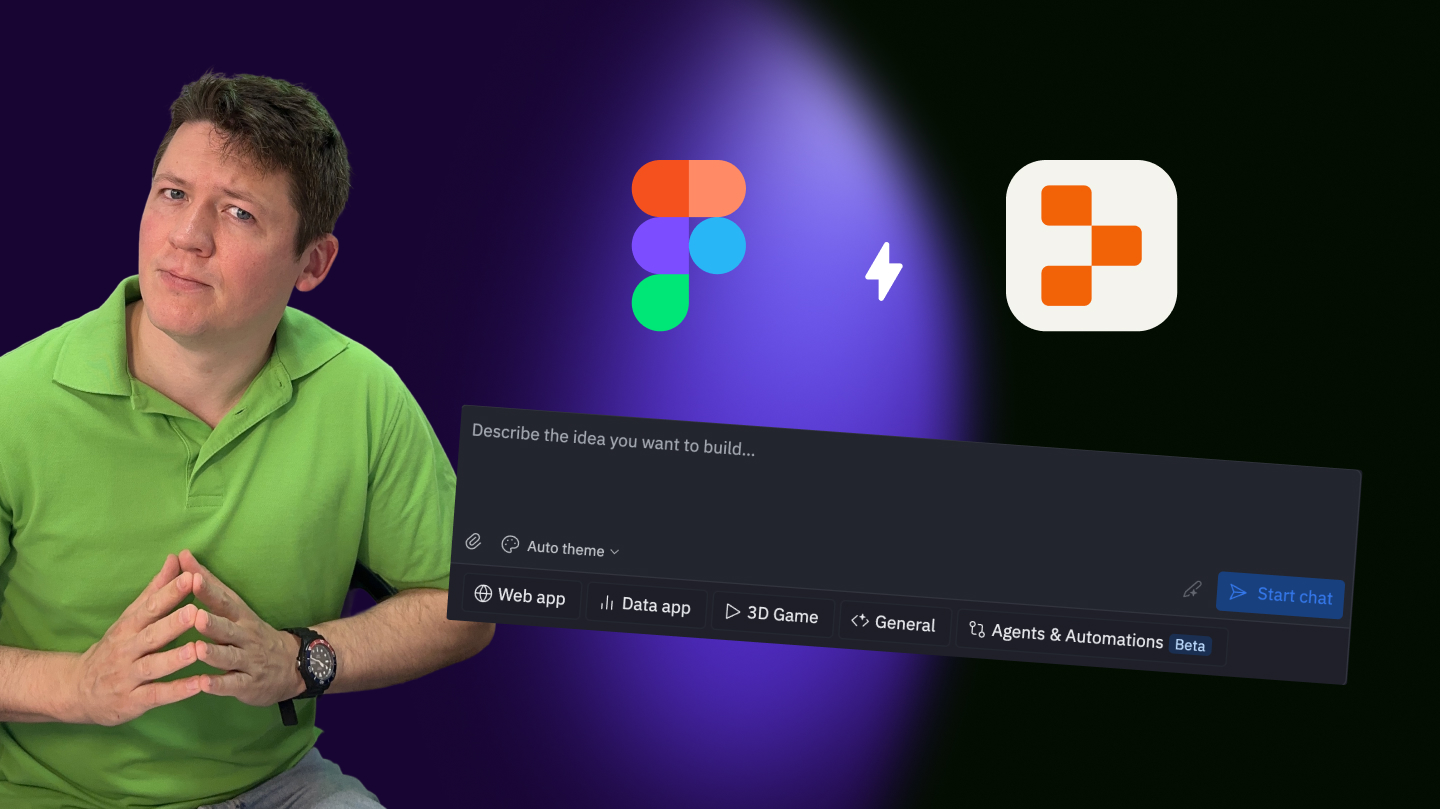
In case you are a novice to it, Replit is an internet IDE which allows you to build and run projects immediately in your browser. It is ideal for fast prototyping, testing ideas, and collaborating with other people in real time.
Precisely why it is great for designers:
No setup headaches. You are able to commence coding in seconds.
Live collaboration. Work with teammates such as in Google Docs - but for code.
Instant deployment. Your project is live with only one click.
Essentially, it is the fastest method to turn your Figma idea right into a shareable web experience.
Just before you leap into Replit, ensure your design is structured properly. A clean file will save you hours later on.
Checklist:
Make use of pieces and styles. Buttons, cards, headers - cause them to become consistent.
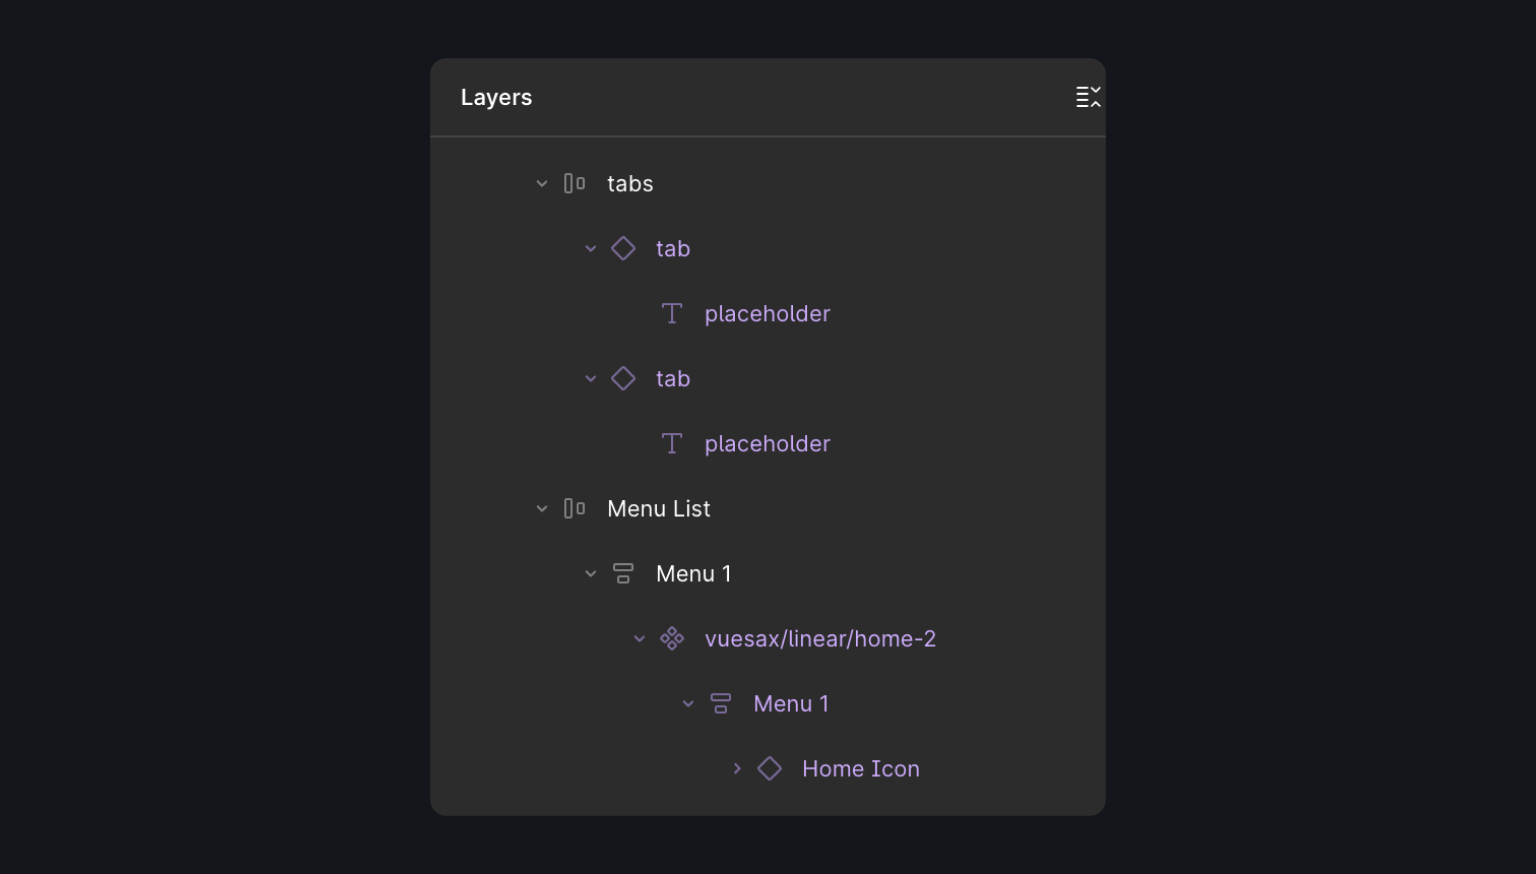
Name your layers clearly. It will make inspecting elements and also copying CSS easier.
Export assets. icons and Illustrations must be SVGs; pictures in PNG or WebP.
Check typography and spacing. Jot down font sizes, colors, weights, and spacing - you will employ them in your CSS.
There is no individual "correct" strategy to deliver Figma into Replit. It all depends on just how much control you need - and just how fast you require results.
Screenshot + Prompt upload a screenshot of your design and describe what you want.
Divide it into sections like:
HeaderHero with CTA.
Features (cards, icons):
Testimonials.
Footer
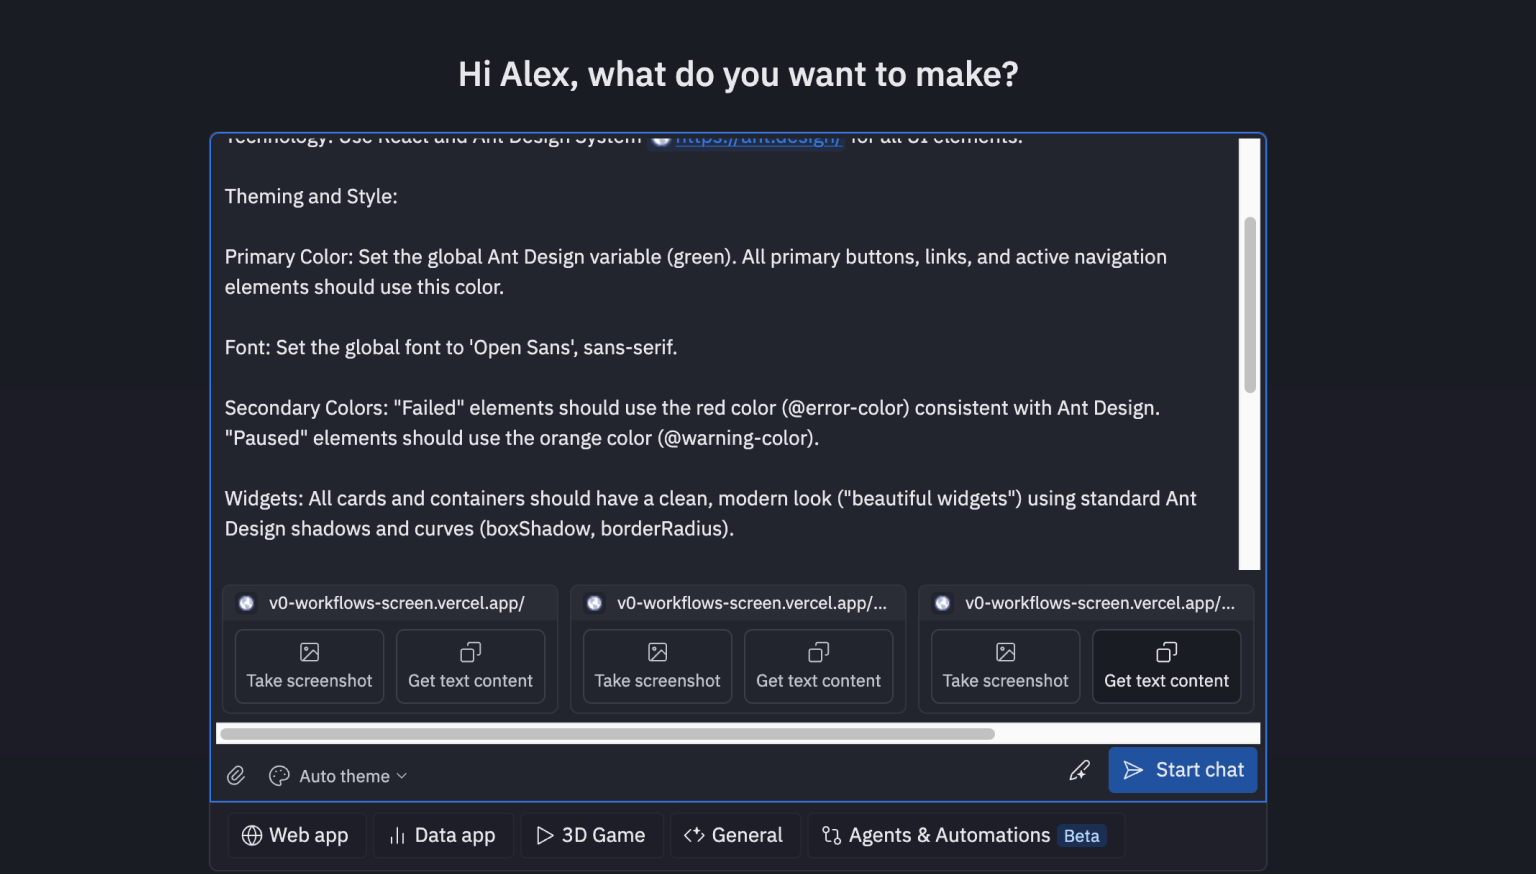
Add extra details: color, fonts, buttons, layout behaviour.
For example:
Use Code Generators
In Figma, visit Plugins "Builder.io AI-powered Figma to Code".Run plugin and import your mockup.
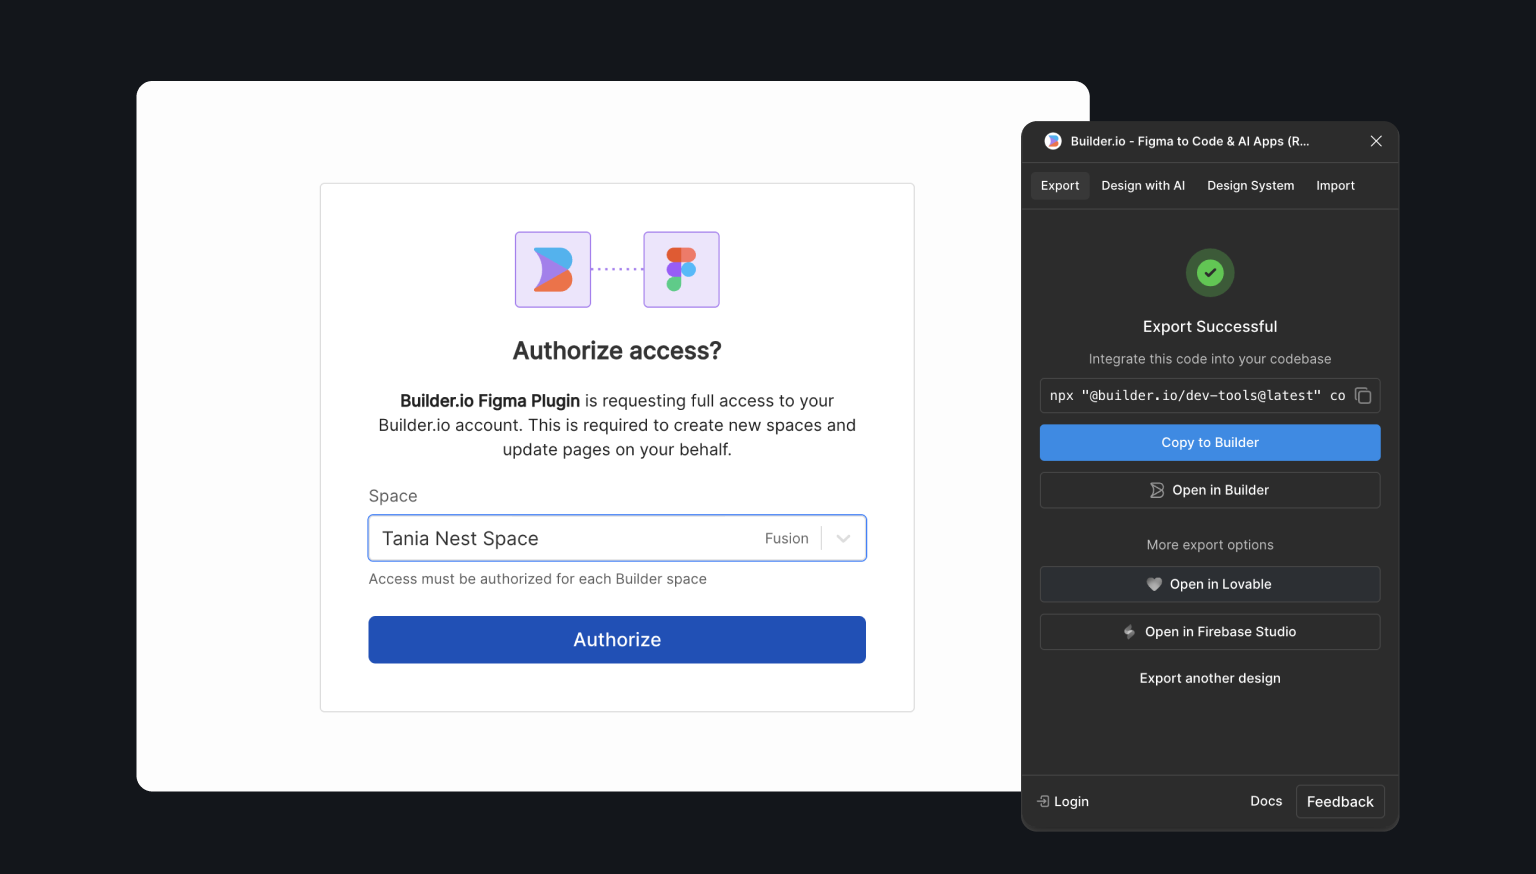
Choose the design area you want.
Within the plugin, click Export to Code.
AI writes structured code, components and styles.

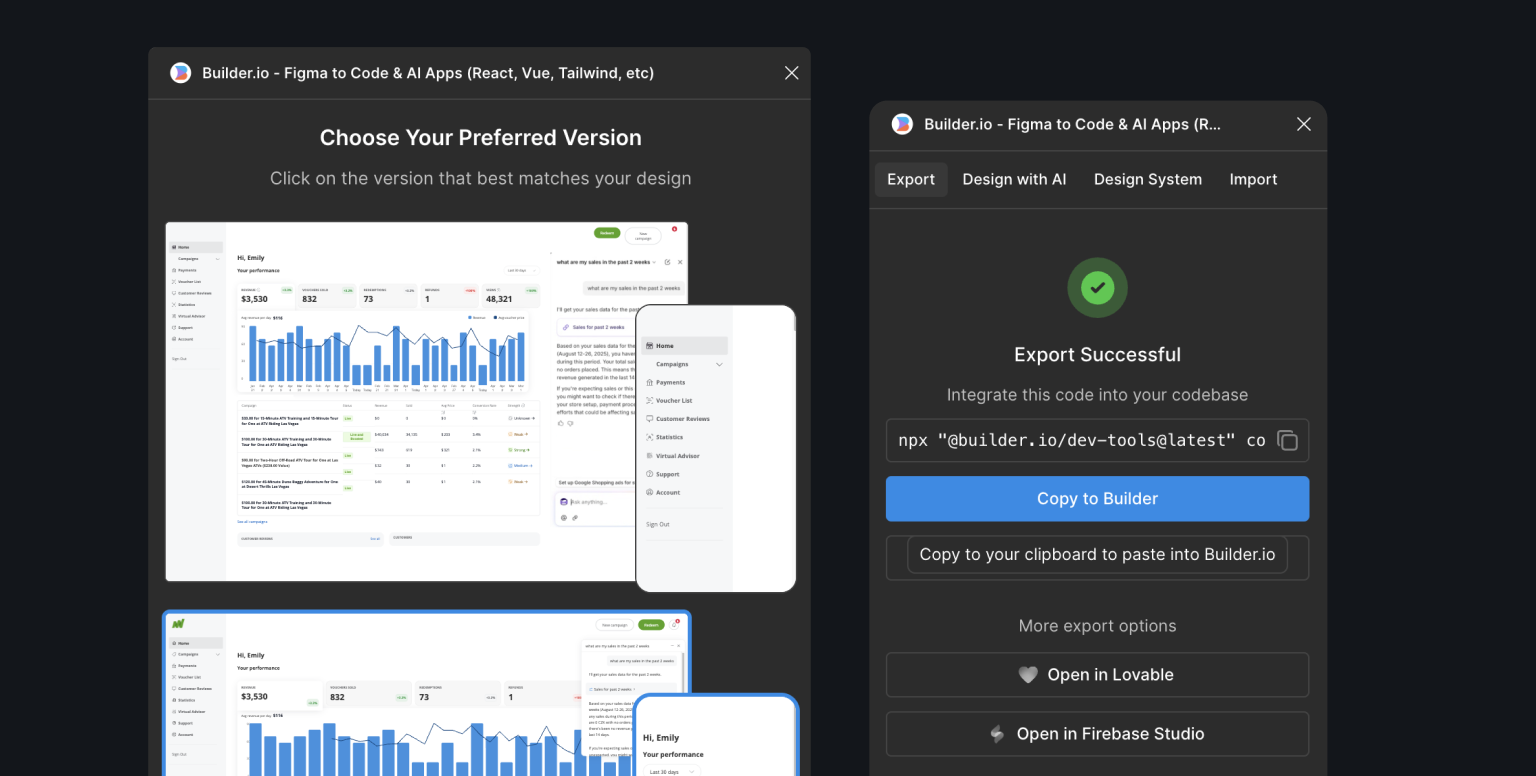
Once the code is generated, select the appropriate layout that best matches your design.
Copy the link and paste it into the Reply prompt field.
Ask ChatGPT to explain UI share the screenshot with ChatGPT, let it create an organized UI description, use that prompt in Replit.

Tip: Replit isn't perfect - parts of your prototype may require repairing. You can edit, refine and restructure the prototype in Replit.
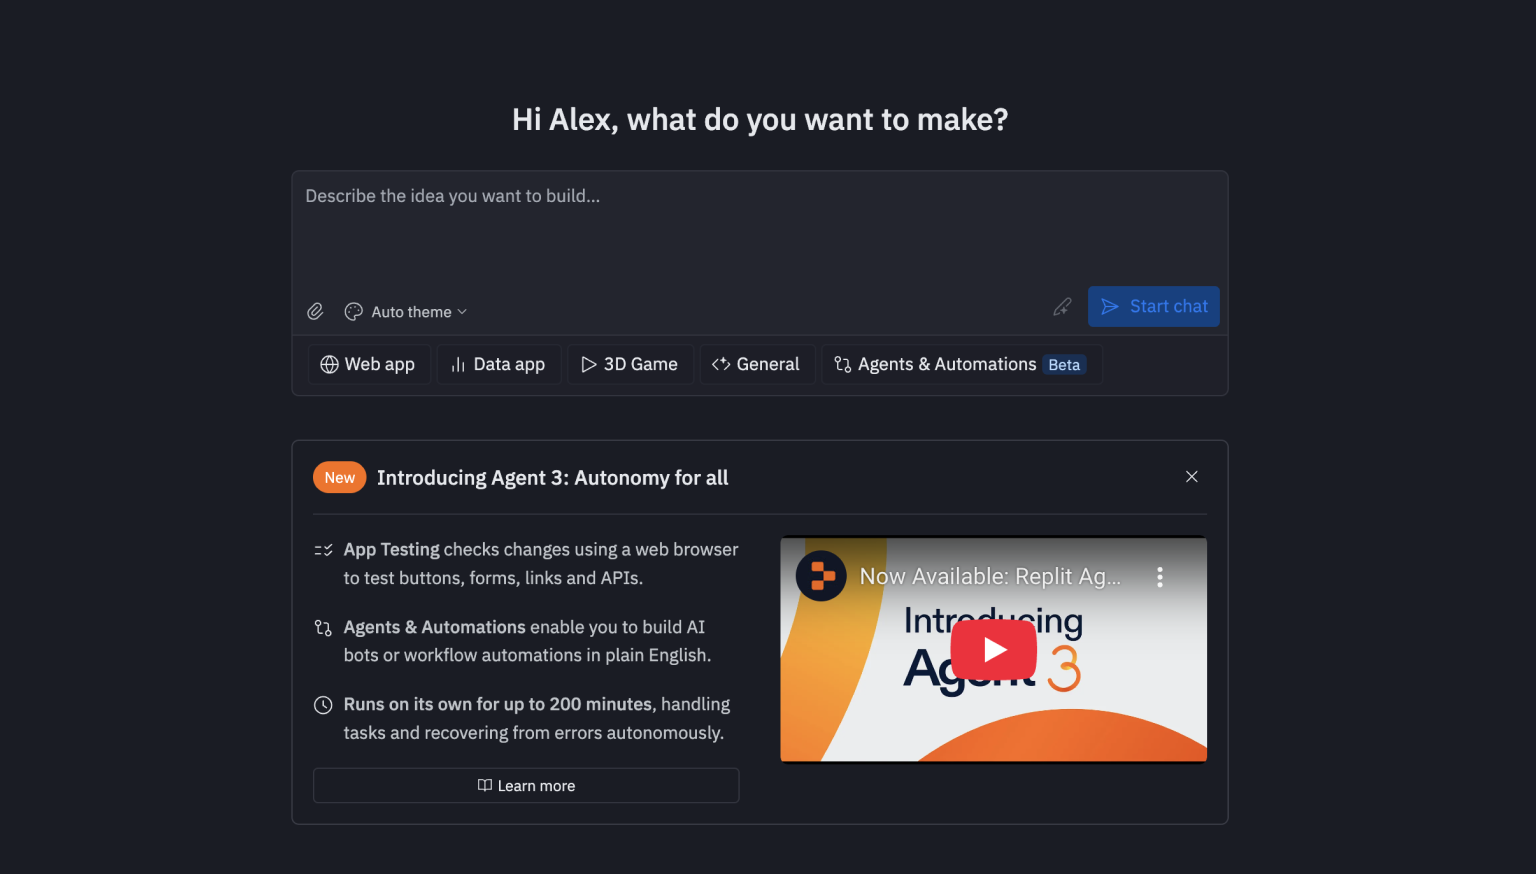
Once your assets are prepared and you have chosen your method, it is time to create.Rapid setup:

If you see Building Failed in Replit, type this prompt in chat:
"The build failed in my Replit project. Check build logs and fix the issue."
or more specifically:
“My Replit project says 'Building Failed'. The error log is below: [insert error from console]. Fix it and explain to me what to change.”
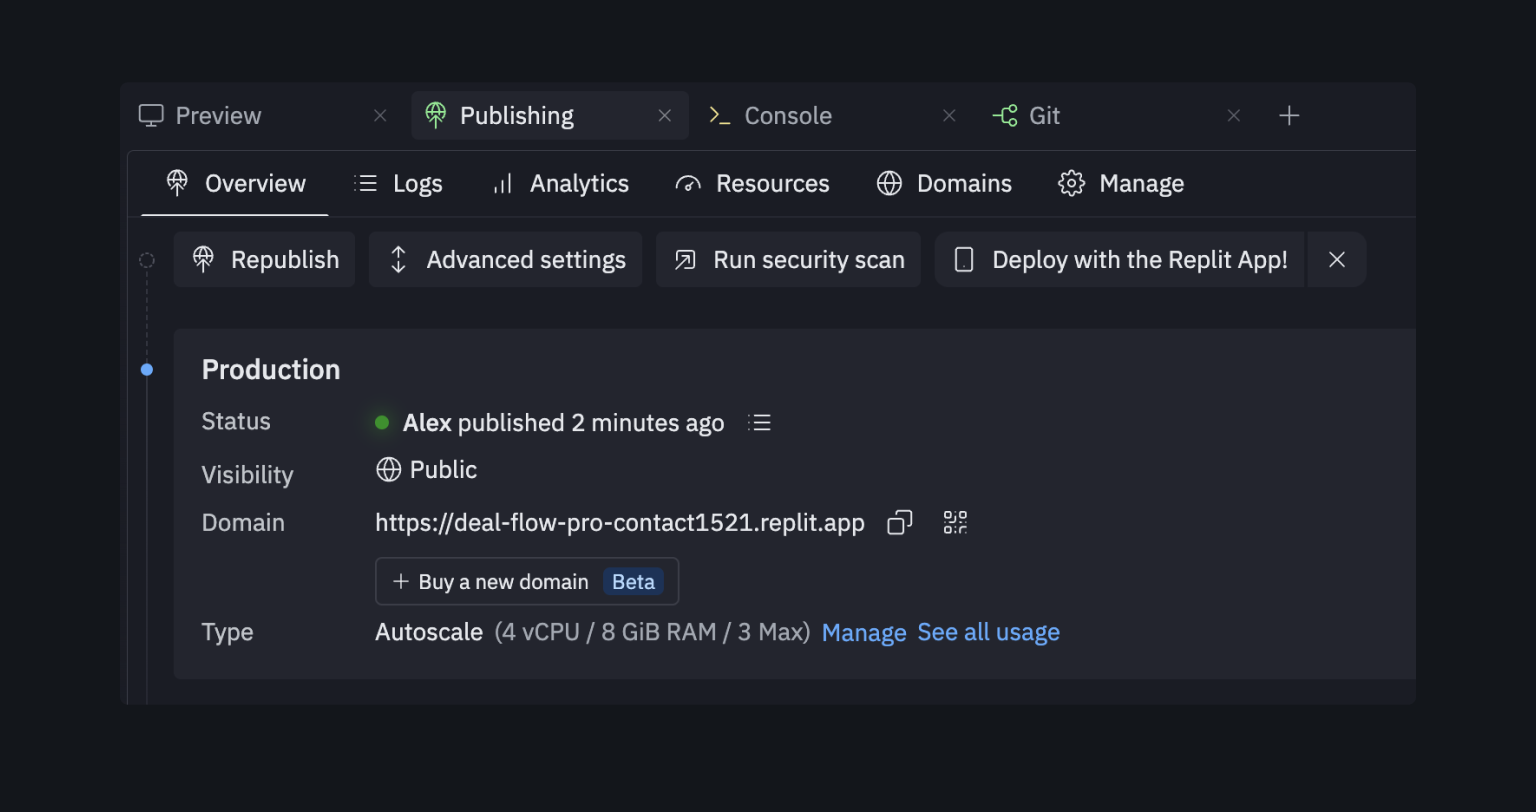
1. Within your Replit workspace, click Public (top right).
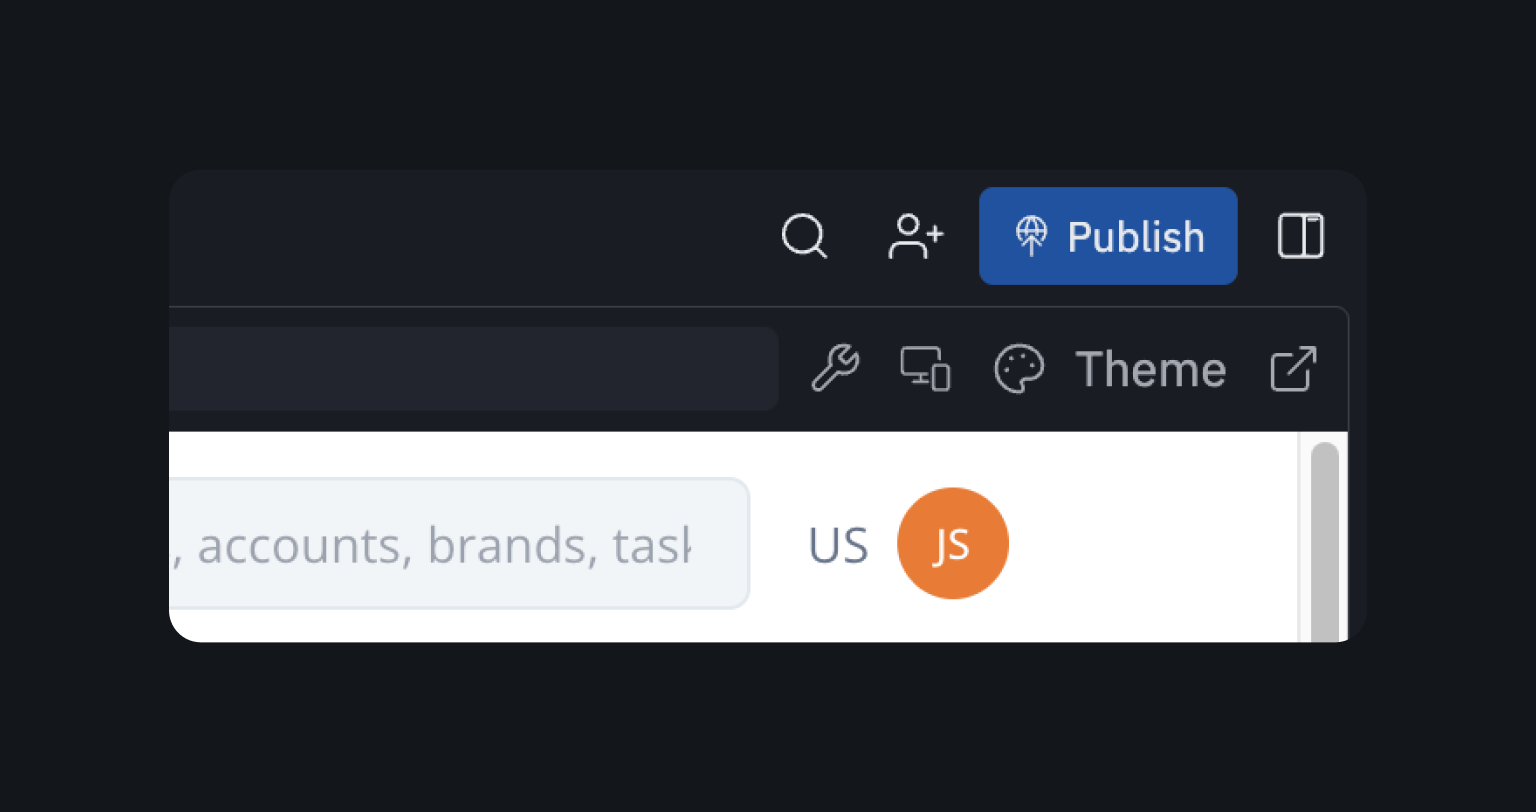
2. Under the Publishing tab publish the current Replit (site name/subdomain when prompted).
Optionally add a customized domain - Replit will show DNS records (CNAME/a) which you have to add at your domain name registrants (goDaddy or any other).

3. Copy the live URL and share - collaborators can view, fork or even comment based on permissions.
Keep prompts clear and focused on what you need built.
Use real data and real copy in your examples - this gives the AI context to work from and produces code that feels more user - friendly.
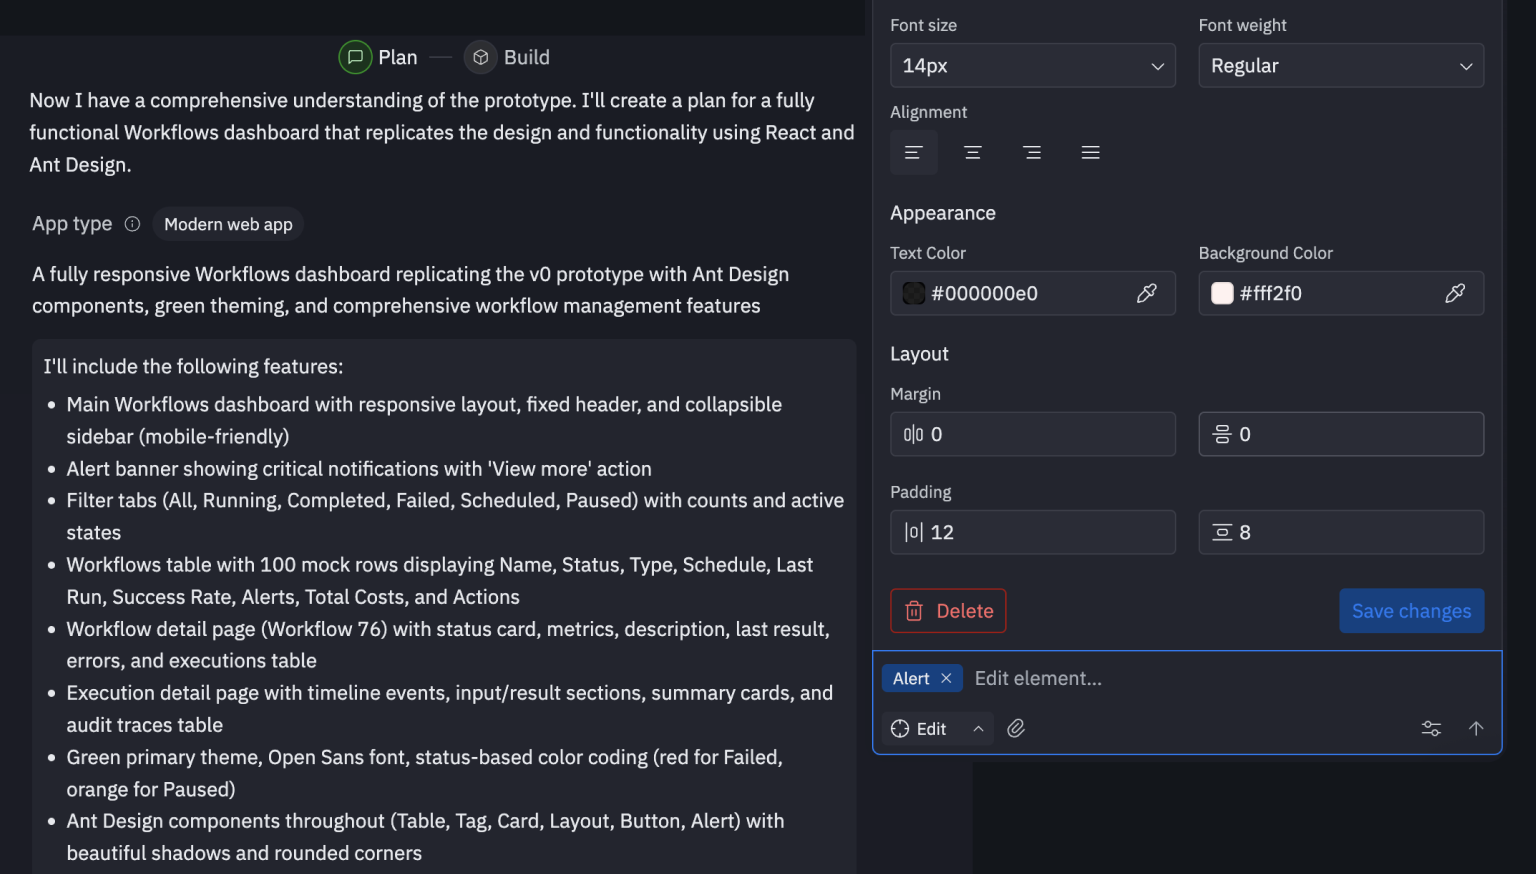
For much more complicated layouts (dashboards, dynamic tables or modals), break the interface into smaller components and handle each part individually.
Before hitting "Generate," tell the AI:"Ask clarifying questions before coding."
That simple line can save hours of rework.

In you are stuck, rewrite your prompt - or better yet, ask ChatGPT to improve it. You can also:
Replit has a pretty adaptable pricing model - start totally free and scale up if you want more power.
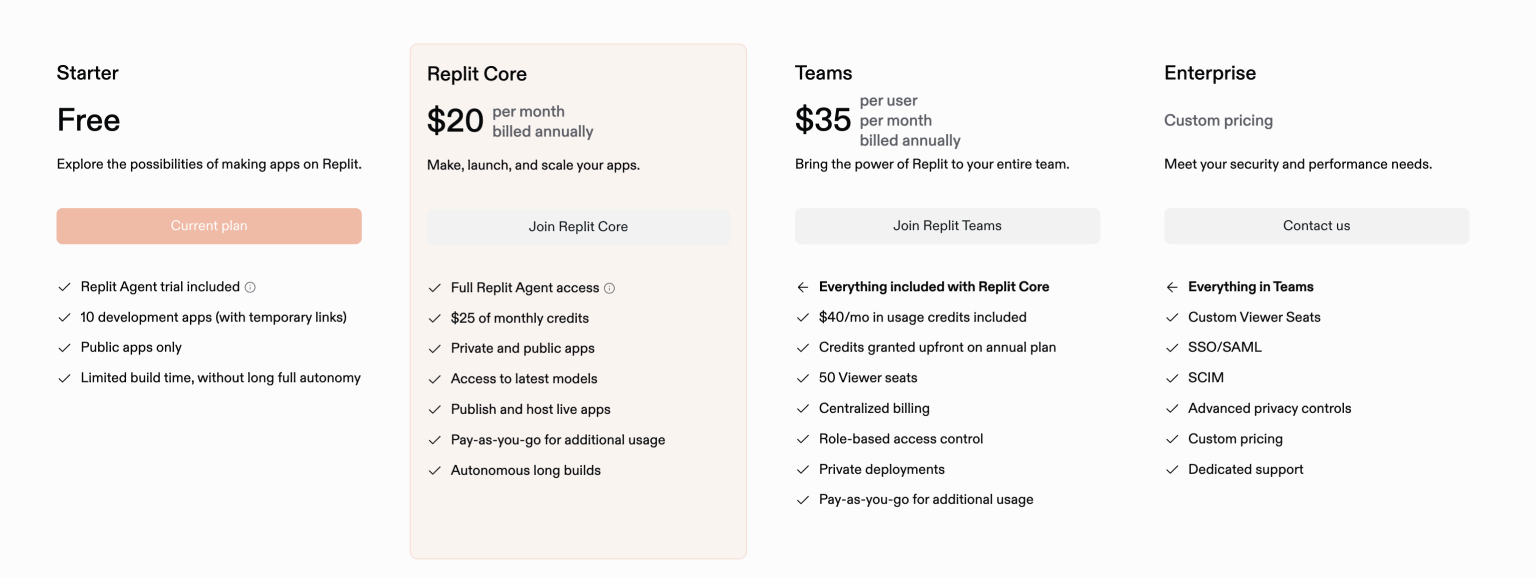
Free plan: ideal for quick prototypes, smaller projects or learning. You get basic storage, public Repls and immediate hosting.
Core plan (payed): Unlocks private projects, faster machines, always-on hosting and AI tools like Ghostwriter.
Teams & Education: Replit also provides collaborative plans for studios, dev teams and classrooms.
So whether you are simply experimenting or even building something serious, Replit supports everything from quick Figma-to-code tests to complete production apps.
It's quite easy to move designs from Figma to Replit. The functionality and interactivities pieces are however hard to replicate, but even this is achievable on individual pages.
Need help with the replit? We’ll handle the prototype build in Replit, let's chat.


